I recently decided to fit a Rigid Industries 20 inch lightbar to my Jeep Wrangler bumper. The bumper in question is a Smittybilt XRC Gen2 Bumper. The bumper offers several mounting points for 10 inch lightbars, but there’s a lack of options for a 20 inch bar. Naturally, I figured I’d try and design something myself and decided to give a 3D printed option a try.
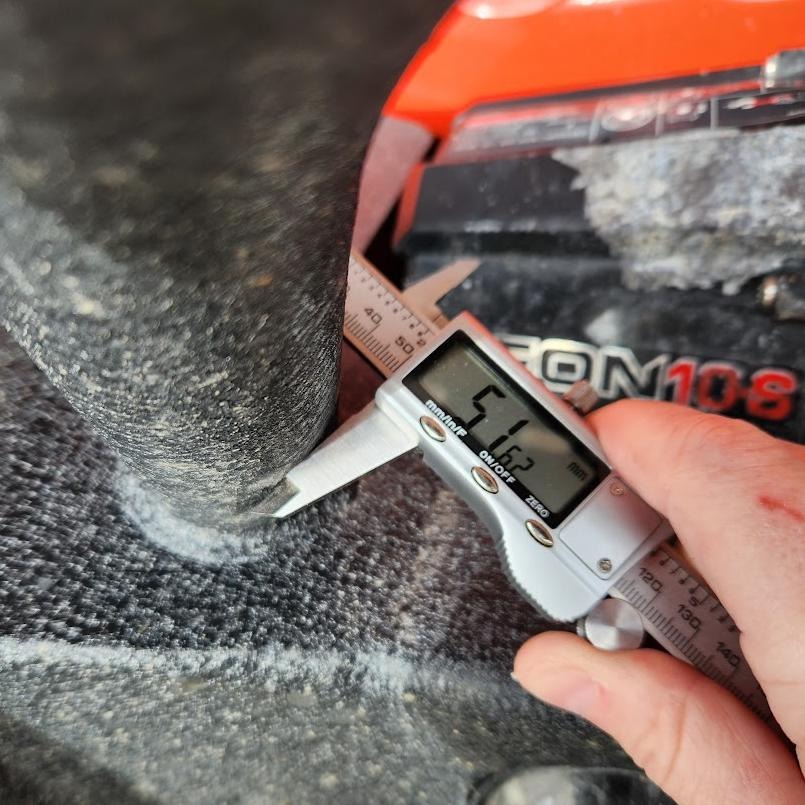
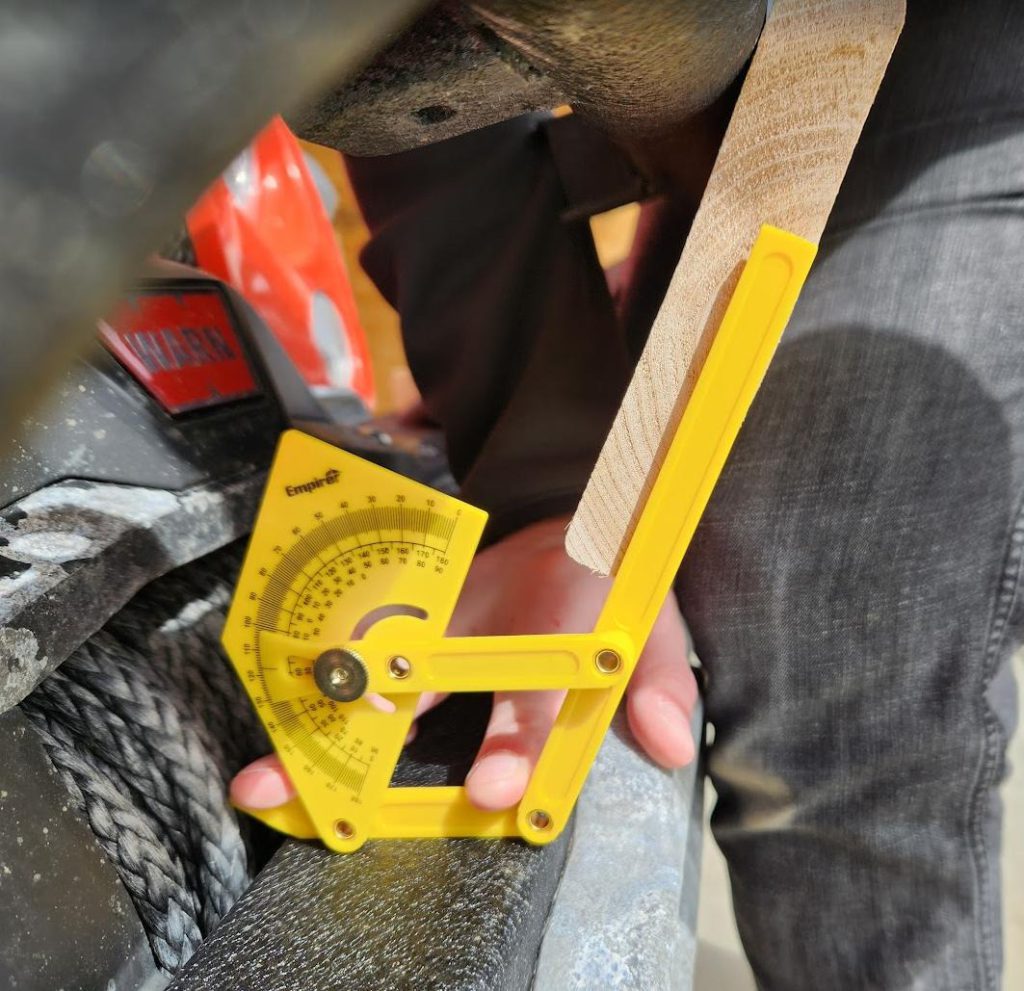
First think I needed to do was take some measurements of the bumper, the thickness of the tube over-rider, as well as the angle the over-rider was connected to the main frame of the bumper.

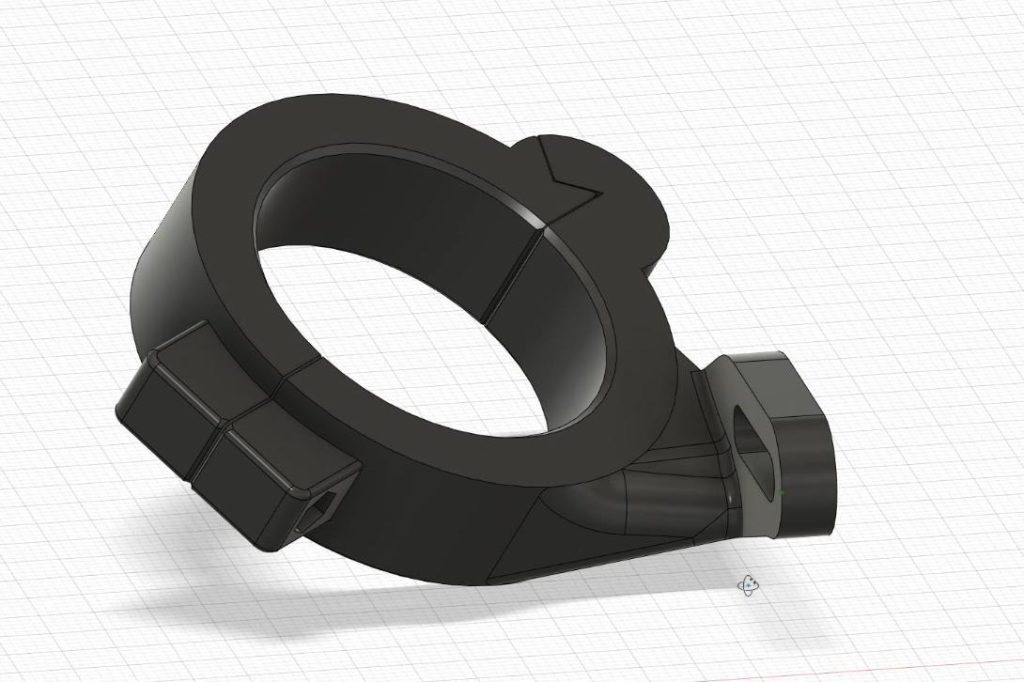
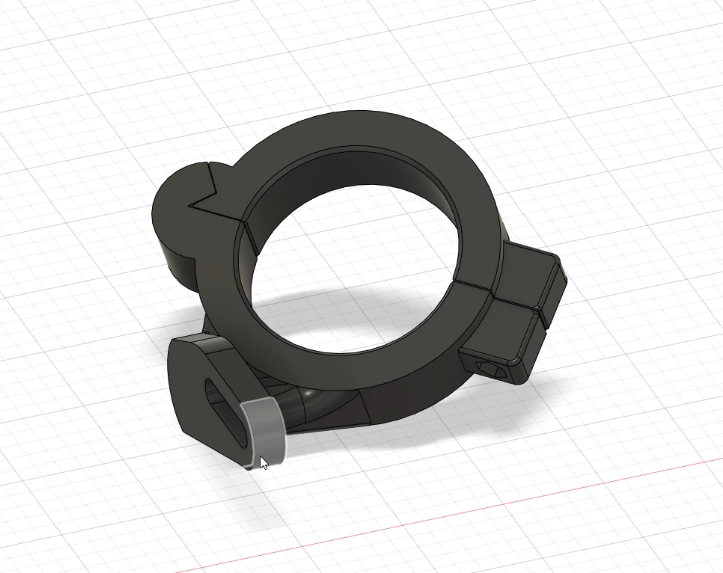
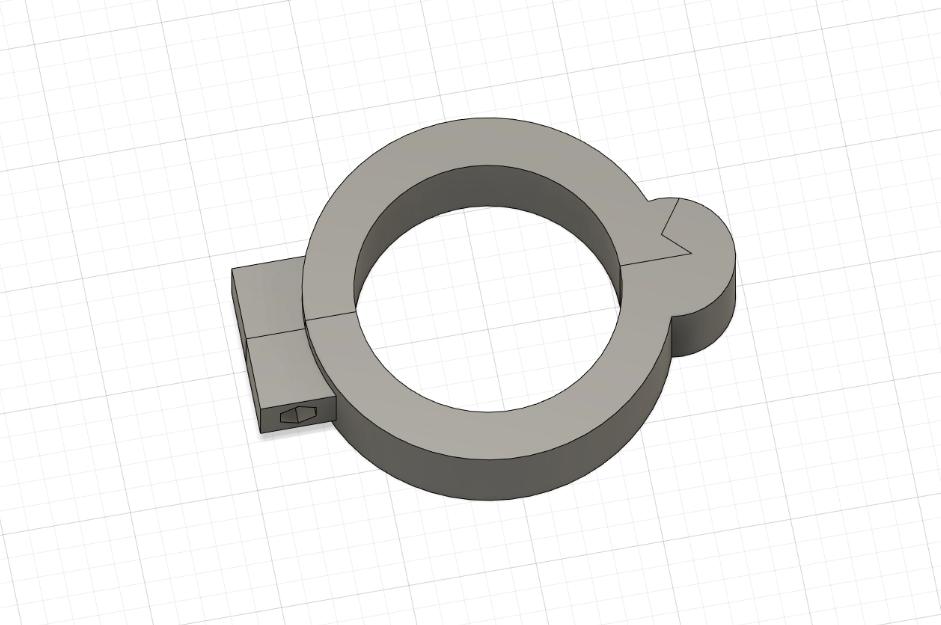
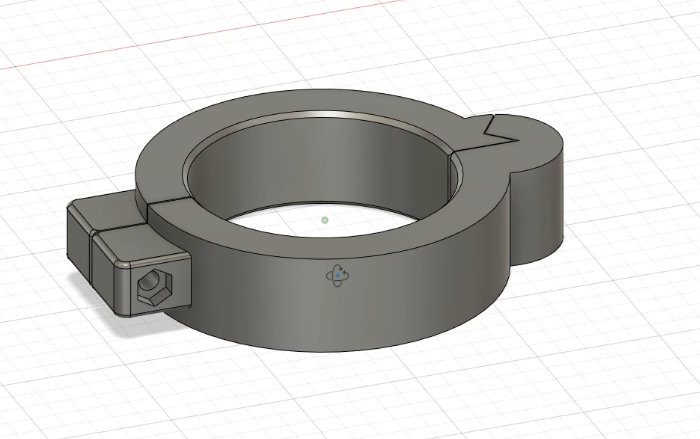
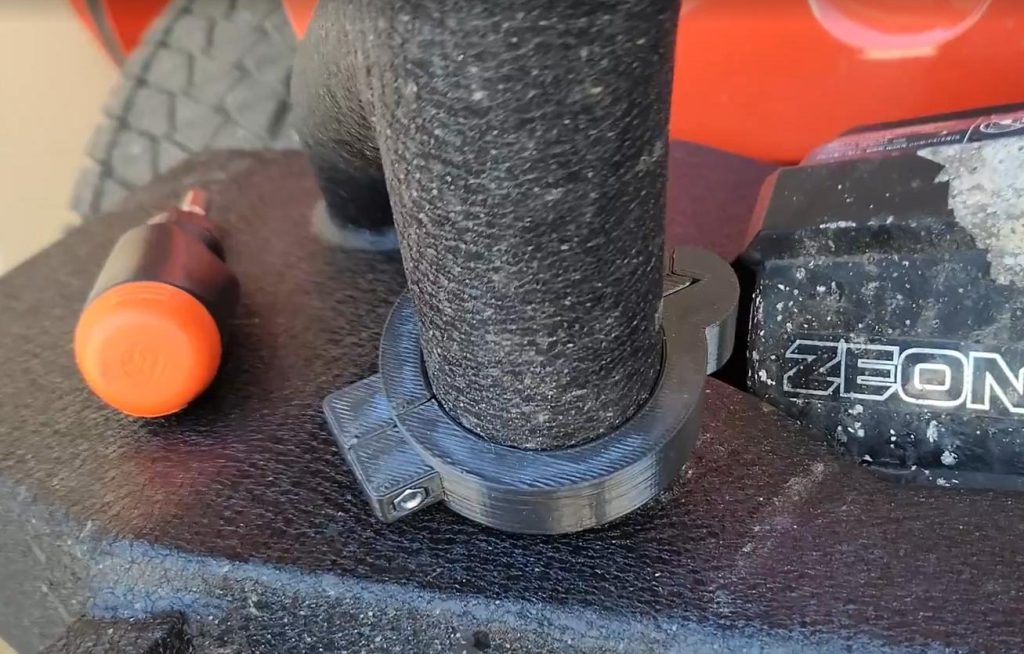
Once I had some basic measurements, the next step was to start designing a model in Autodesk Fusion 360 that could act as a mounting point for the lightbar. I started with a simple latching bracket that would friction-fit with the use of an M4 bolt and recessed nut.
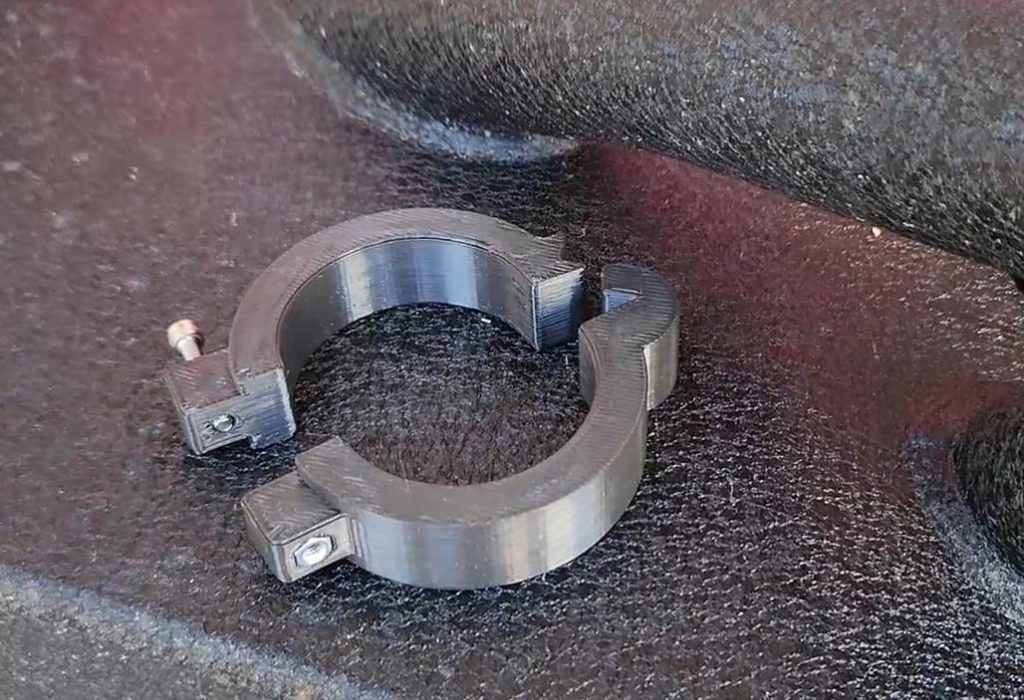
It’s important to make sure these things fit throughout a design process like this, and 3D printing lends itself to relatively rapid prototyping. I was able to print a test bracket in about 40 minutes to ensure the design would work. Thanks to my accurate measurements of the over-rider tubing, this was a perfect fit!
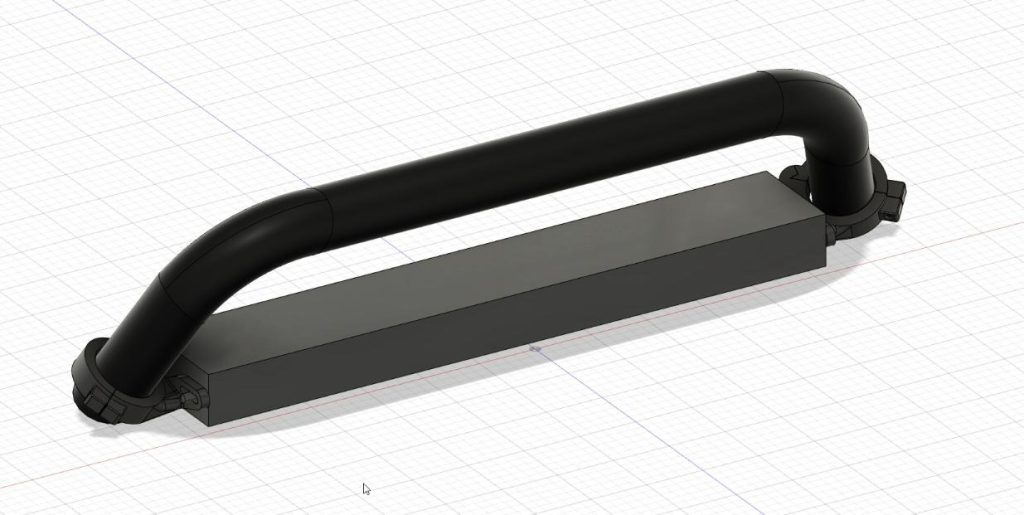
Now it was time to move on to creating the final brackets, which involved some measured angles. I modelled up a mock of the over-rider bar, as well as the lightbar I was working with to give myself some frame of reference for what I was designing. This let me design the rest of the geometry required to connect the actual lightbar to the mounting brackets. Like most symmetrical designs, I just designed one side and then mirrored the model for the opposite side. This resulted in the final design seen at the beginning of the post!